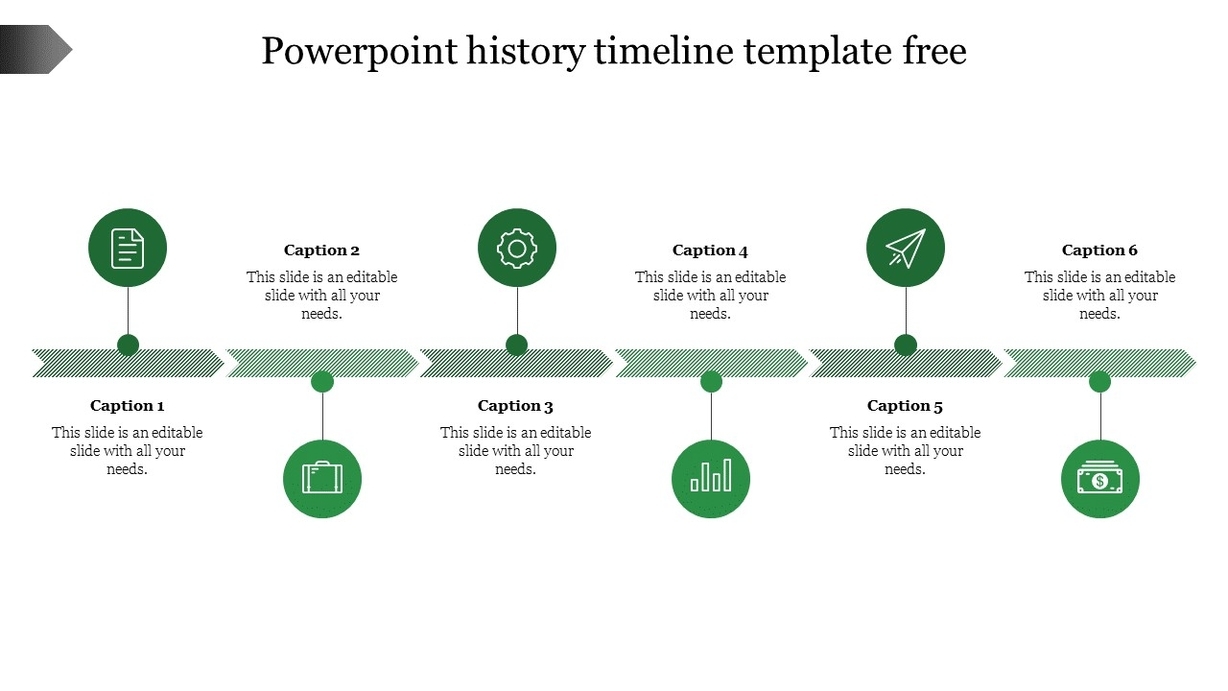
Timeline PowerPoint is a feature in Microsoft PowerPoint that allows users to create a visual representation of events or milestones in chronological order. This feature is useful for creating presentations that require a timeline, such as project plans, historical events, or product roadmaps.
To create a timeline in PowerPoint, you can use the SmartArt graphic feature. Here are the steps to create a timeline using SmartArt:
1. Open PowerPoint and navigate to the slide where you want to add the timeline.
2. Click on the Insert tab and select SmartArt from the Illustrations group.
3. In the Choose a SmartArt Graphic window, select a timeline layout from the Process category. You can choose from a variety of timeline layouts, including basic timeline, circle accent timeline, and more.
4. Click on the OK button to insert the timeline into your slide.
5. Add text to the timeline by clicking on the [Text] placeholders and typing in your content. You can also use the Text Pane to add or edit text.
6. To add more dates to your timeline, click on a shape in the timeline and then click on the Add Shape button in the SmartArt Design tab. You can add shapes before or after the selected shape.
7. To move a date in your timeline, click on the shape and then click on the Move Up or Move Down button in the SmartArt Design tab.
8. To change the layout of your timeline, click on the timeline and then click on the More button in the SmartArt Design tab. You can choose from a variety of timeline and process-related layouts.
9. To change the colors of your timeline, click on the timeline and then click on the Change Colors button in the SmartArt Design tab. You can choose from a variety of color combinations.
10. To apply a SmartArt style to your timeline, click on the timeline and then click on the SmartArt Styles button in the SmartArt Design tab. You can choose from a variety of styles to give your timeline a professional